Monday, 16 September 2013

JOFY

Had a much less eventual trip to The Stamp Attic on Saturday for a day with JOFY making cards with some of her new stamps.  That is unless you count Sarah trying to head for London not Bristol on the way home and reversing back down the slip road, luckily she hadn't gone up it very far!

We used a couple of her flower stamp sets, using paints and distress inks to colour them, these are cards we made during the class.


Had a play today with the stamps that just happened to fall into my shopping basket and came home with me!


Also some journal pages in my little journal.


These are great stamp sets, very versatile and they all mix and match check them out here

Thursday, 12 September 2013

Happy Anniversary

Yesterday was our 14th Wedding Anniversary, how these years go by so fast!  This is the card I made for Mark, I used some tissue and collage items to build up the card.


A 14th year gift is Ivory, I found Mark a little elephant called Ellie, she came in a big cardboard box full of straw, wasn't sure if I had ordered a real elephant!  She did turn out to be stone though!  She's got a little spot on the patio, surrounded by cats.


Happy Anniversary Mark x

Thursday, 15 August 2013

Scrappy Day

I had a lovely day yesterday at The Stamp Attic in Wantage, I met up with my friend Alexa, as she lives so far away we don't get to make mischief very often!!  The Stamp Attic is kind of in the middle for us to meet up, as well as a great place to shop, so we took advantage of Wendy's crop day, Penny Kafai held a layout class for a couple of hours, the rest of the day we could stay and play.

This is the layout we did on the day.


The rest of the day I worked on another layout and a journal page, plus some chatting and tea drinking!

The journey home however was a bit more of a challenge, after joining the motorway in the pouring rain, I was overtaking a lorry in the middle lane when the windscreen wiper on the drivers side decided to stop working, eek, it's only a small MG so I could kind of lean over and see out the passenger side. I had to pull over very near a motorway junction and phone home for instructions on how to fix it!!  Lorries were whizzing past very fast so I pulled off the motorway still leaning over to the passenger side and ended up on a dual carriageway, found a small driveway I could pull in to.

Got the bonnet open and the joint back together, as I was pulling out it broke again, fixed it and managed to get back on the motorway, it went again!  After phoning home for more help, I was told that a cable tie or elastic band would hold it, lucky I had my trusty crafting tool box with me and had a couple of elastic bands. Risking life and limb on the hard shoulder I finally managed to get the elastic bands in place all the while very large lorries were whizzing very speedily past my bottom which was sticking out from under the bonnet, I was pretty wet by now!

My trusty elastic bands did the job, only using the wipers sparingly I made it home, must remember to put my pink toolkit back in the car!!

Hasn't deterred me though, booked another class at the shop in September using the lovely JOFY stamps, looking forward to that one.

Monday, 12 August 2013

Watercolour Effects from Stamped Images

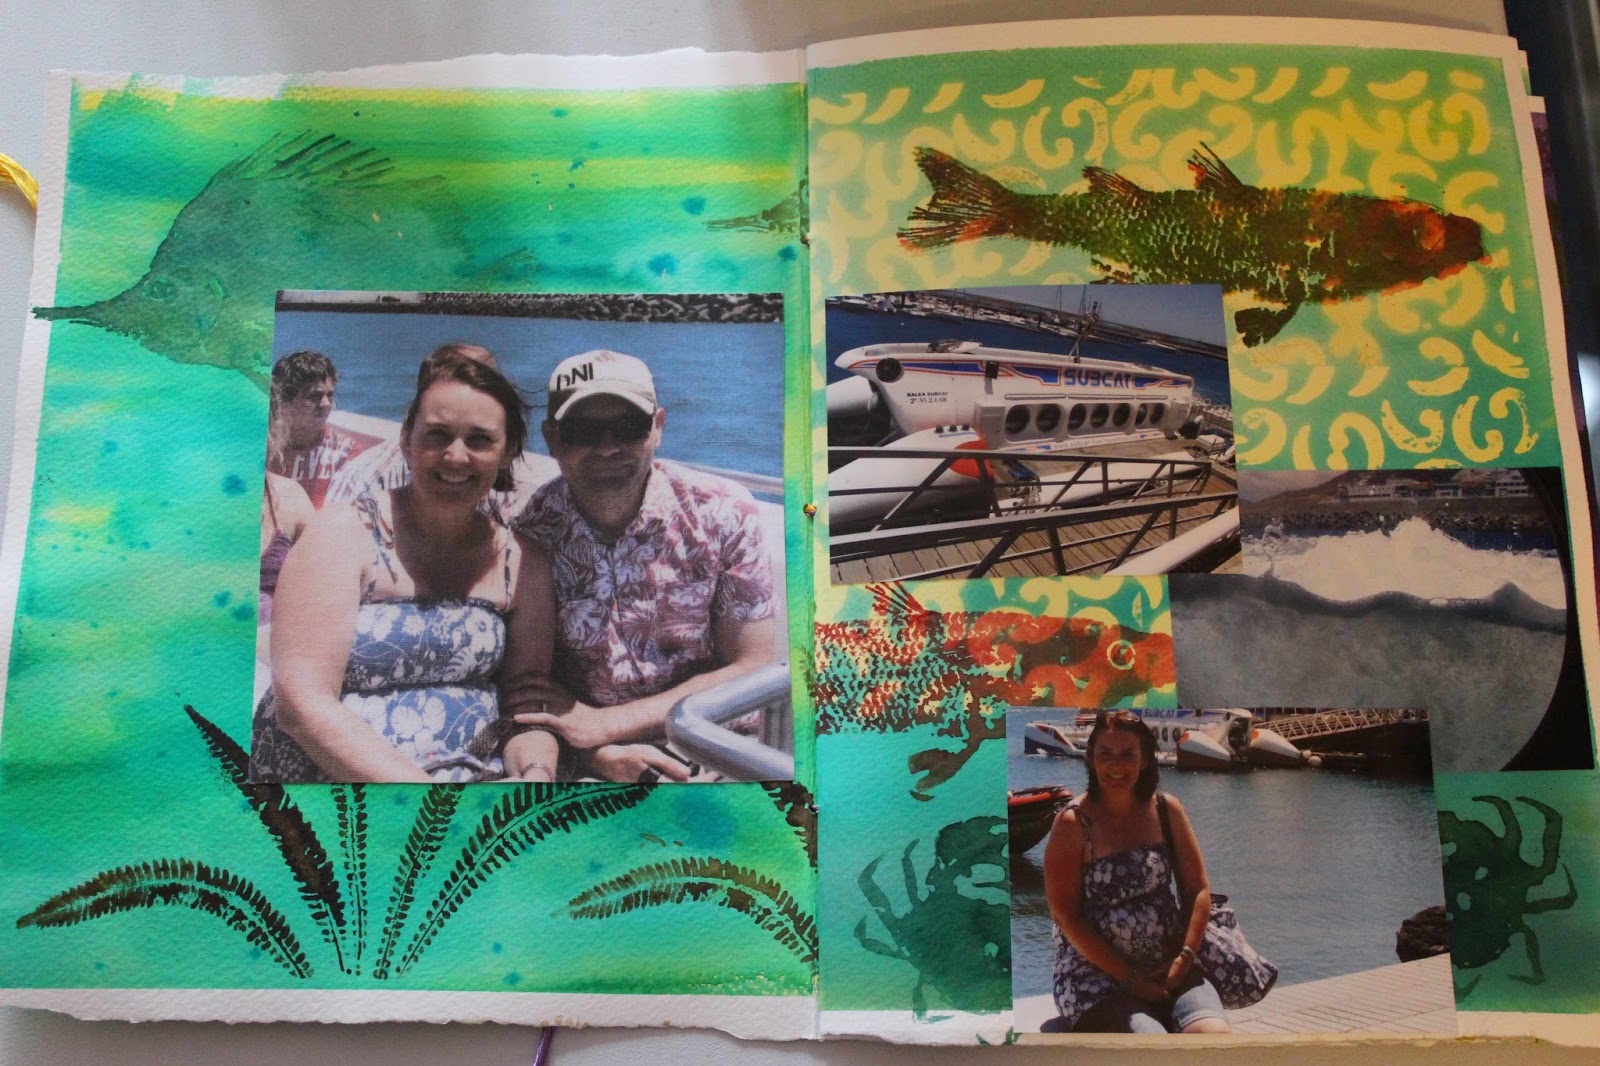
I spent last Saturday at a workshop in the Round Tower at the Black Arts Centre in Frome with Linda from Just Scrapbooking.  We had a great day with Linda playing with watercolour inks to make unique backgrounds, when these were dry we stamped images, again with the inks, Adirondak colour washes, watercolour crayons and even bleach (not a stamp pad in sight!!).  We used amongst others the Fred Mullett Nature Print stamps.  I used my book to put my fishy photos in, this is the finished result.


Thursday, 25 July 2013

Girls, Girls, Girls

I have really been enjoying using the Andrea Gomoll stamps and the Jane Davenport stencils to make these girls, this is definitely my new craze! Over the last few days I have been playing around with different looks, I have an oval leaf stencil (which I knew would come in useful one day!) which I thought was a good face shape, on one page I used paint and spray inks the other molding paste, I like the effect of the molding paste best.  I used my Andrea Gomoll stamps for the face, I like how the girls look like they are peeping through the page!

The golden haired girl is using the 'Jane' stencils with the Artistcellar seafoam stencil for the background.

Also had a go at painting over a magazine page, quite like the effect of that too.

Using the oval leaf stencil with paints
Close up

The oval stencil with molding paste, painted over

Close up

Golden hair girl, Jane Davenport stencil

A magazine page

I am watching Jane Davenport's The Whimsical Face DVD learning how to draw the girls freehand and see what personalities come out, so more girls to follow!

Thursday, 11 July 2013

Jane Davenport Stencils

Whilst I was at the Just Scrapbooking weekend in June I grabbed some of the Jane Davenport "Jane" stencils by Artistcellar as I thought they would be good to go along with my girl stamps and drawing class.  Got to have a play with them on Saturday at Bristol Scrappers after watching one of Jane's videos on how to use them.  I was right, they are good fun and a great way to get a face without the pressures of having to draw it yourself!

I used book text, gelatos and acrylic paints with a flower stencil for the background, inked through the stencil then painted in the hair, I went over the hair with another stencil and acrylic paint, it was so easy to do, you can get the stencils here and try them out.

This is what I came up with, completely inspired by the Jane Davenport video, I love how she draws in the hair.


I'm off to Cornwall soon so will be taking a few of the stencils and crafting supplies just in case in have a wet day!

Thursday, 4 July 2013

FACEcinating Girls with Andrea Gomoll

Whilst rummaging through art journalling videos on YouTube for inspirations, I came across a video by Andrea Gomoll using a picture of a bird which she painted over, very inspiring techniques and some lovely soothing music playing in the background!

Having looked up her website I found a class she was running called FACEcinating Girls, the course runs over three weeks and includes about 30 videos from the basics, shading the girls, backgrounds and putting it all together.  You also get a cute little set of stamps which gives you two different styles of eyes, noses and lips.  The stamps really help give you confidence in sketching the girls which are a whimsical style.

The first week taught us how to stamp the features then draw in the face and hair, our homework was to practice sketching, I did have a go at shading with gelatos!  The gelatos didn't blend well on the paper so I painted her face with gesso, she ended up looking like she'd had a terrible burn!  I persevered with the colours, gave her big red checks and she didn't come out too bad, needs lots and lots of practice though!!!

Here are my girls so far....


And the shading ...


I will persevere !!!!